This shop has been compensated by Collective Bias, Inc. and its advertiser. All opinions are mine alone. #GoodyBrushEd #CollectiveBias
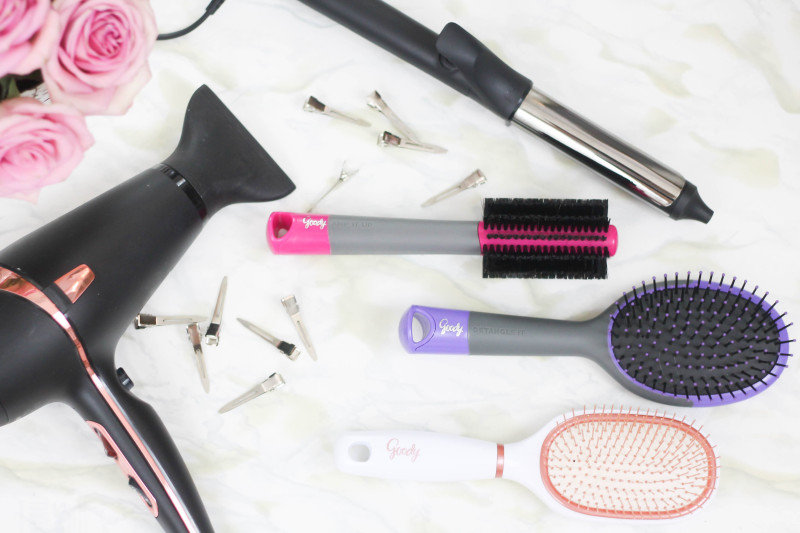 One of the questions I get asked most is about my soft waves; how I get them, what I use. Today, I’m teaming up with Goody to highlight a few key hair tools I use to get the look, and a step-by-step tutorial on how I get soft, easy waves. It may seem like a lot of steps, but I promise… it’s super easy and fast.
The soft wave is definitely my signature style, and a total go-to. No matter what I’m doing or where I’m going, it’s the perfect hairstyle. Not only that, but it’s the foundation to so many OTHER styles! So mastering the wave is KEY.
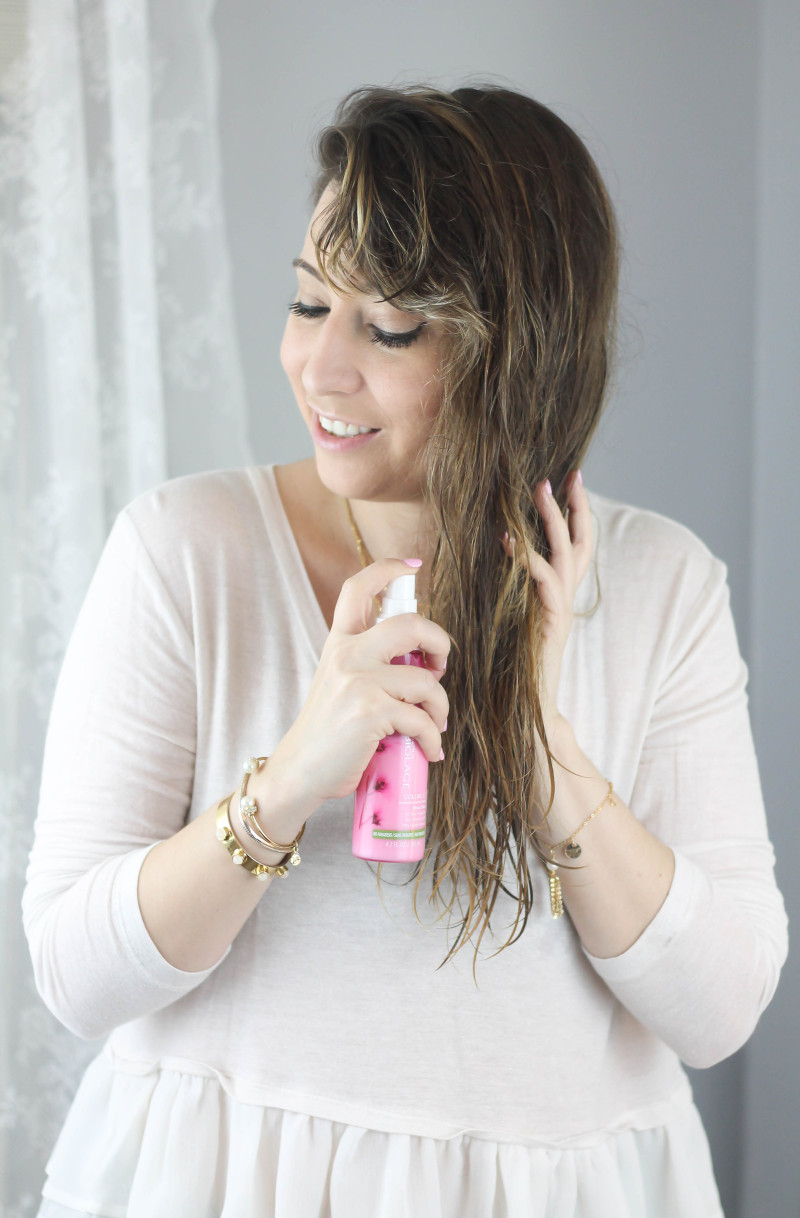
Step 1: Spray leave-in conditioner onto damp hair.
The very first thing I do is spray in a leave-in conditioner to make my hair softer and more manageable.
Step 2: Detangle.
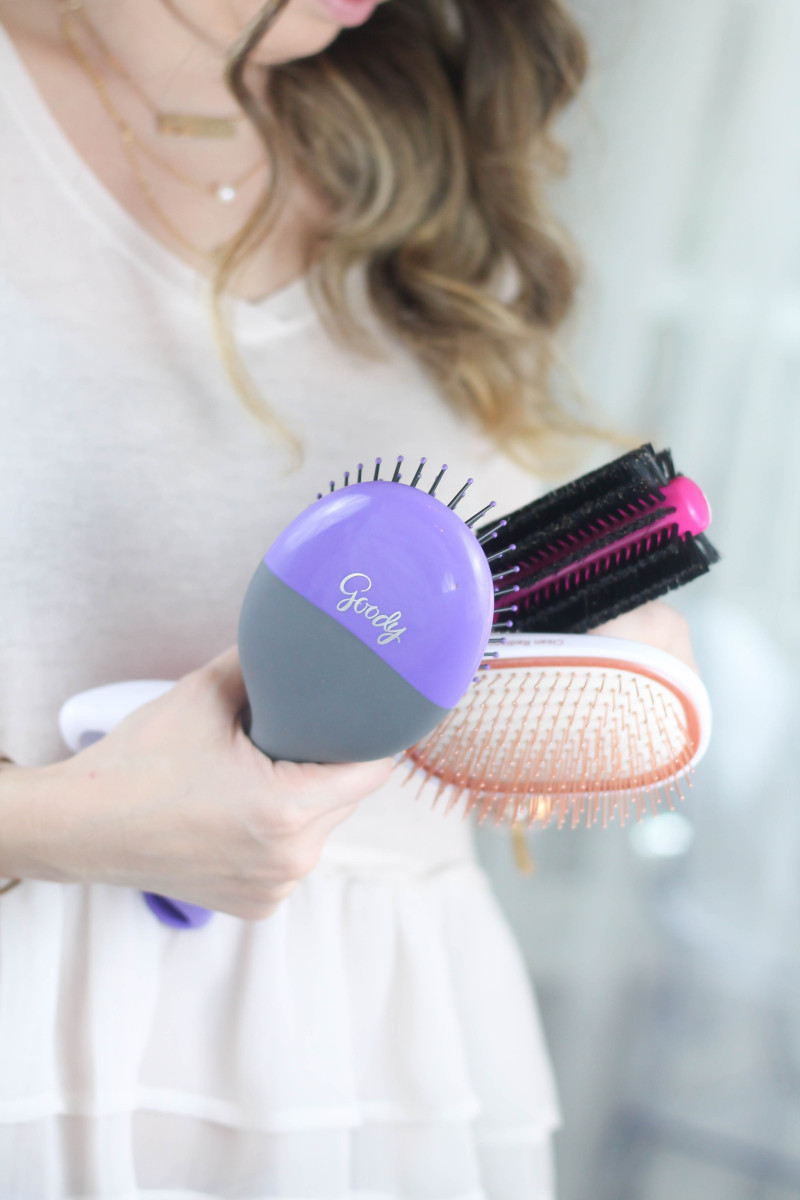
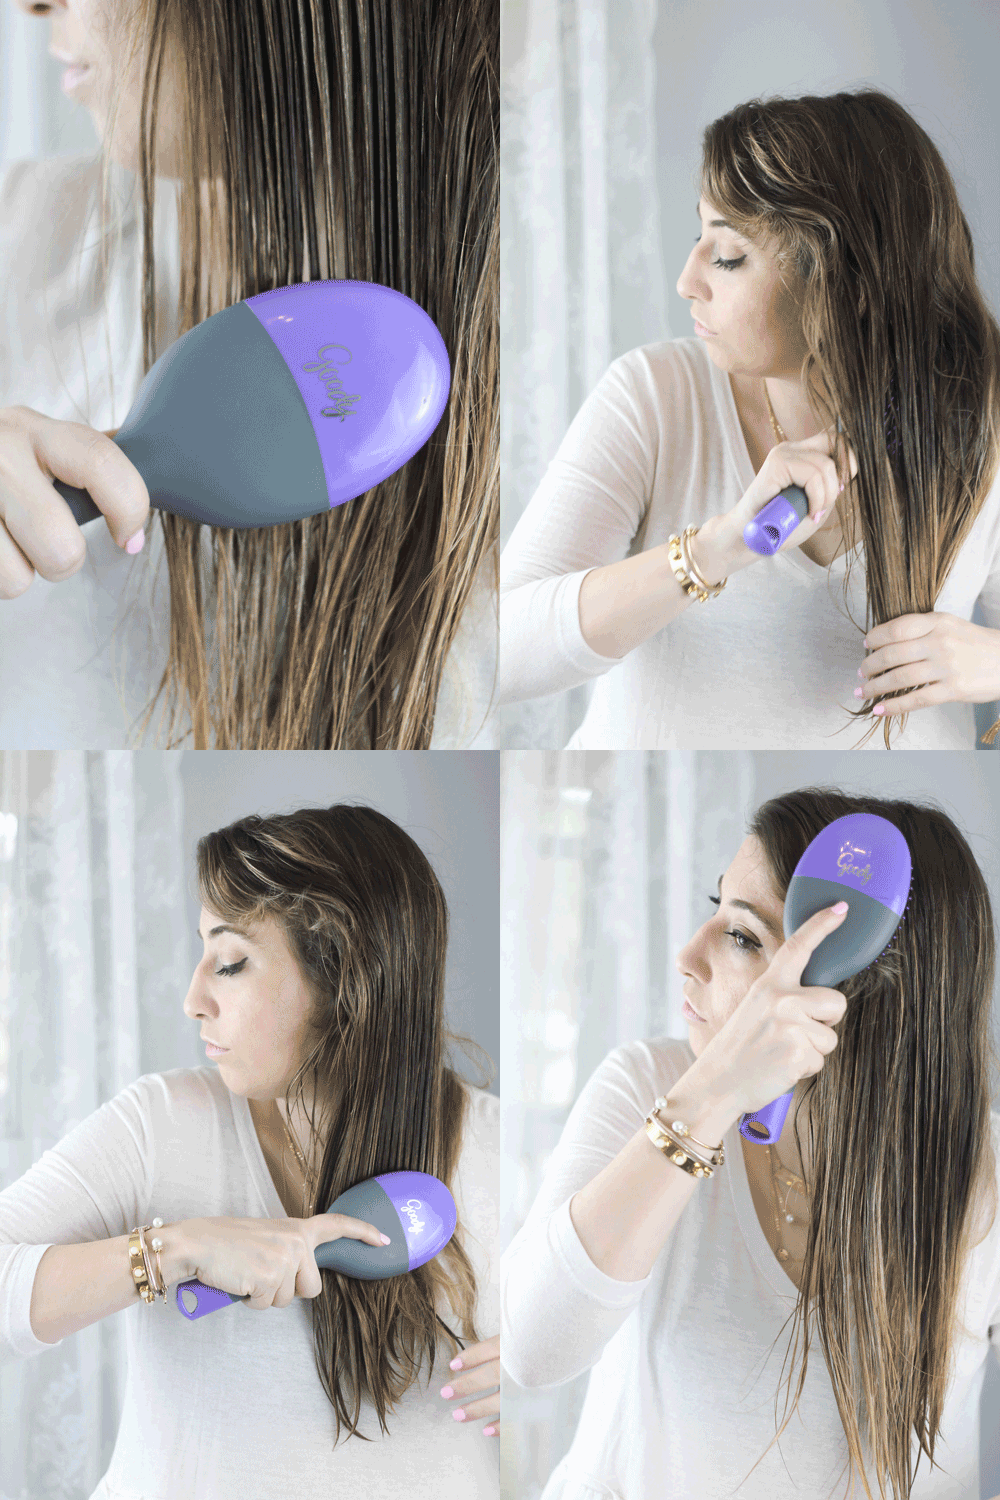
Right after spraying my hair with a my favorite leave-in conditioner, I detangle my knots with the Goody Detangle It Oval Cushion Brush. The flexible bristles on it are really gentle on my hair and work out tangles with less snags and pulls. (I get maj knots, guys!) Start from the bottom and work your way up for best results. Detangling is a crucial first step to any style– I mean, there have been times where I’ve been in a rush and skipped the detangle step– not a good look.
Step 3: Separate bangs.
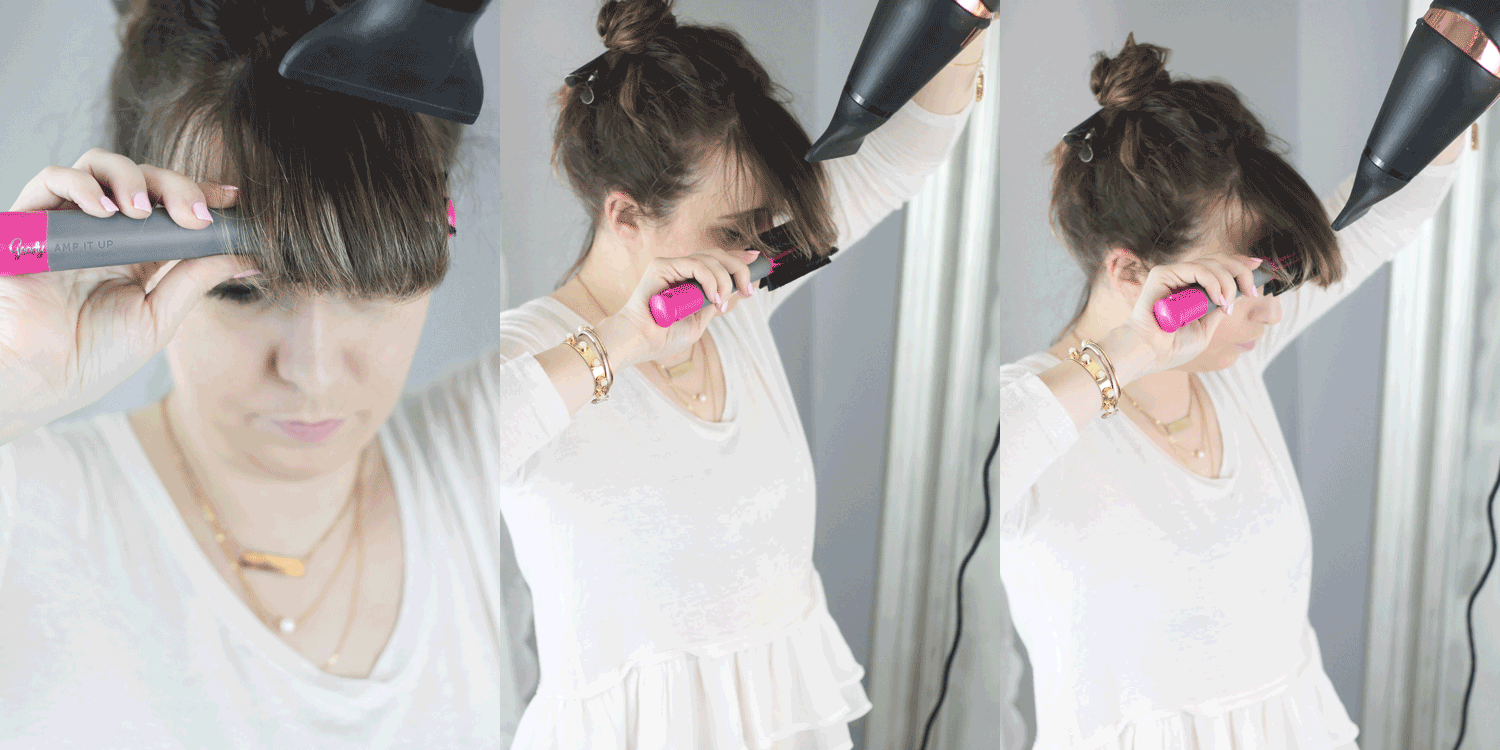
I always attack my bangs first, so I section them off and throw the rest up into a little knot with a hair clip. Easy peasy, nothing fancy.
Step 4: Dry bangs with round brush.
My bangs dry pretty quickly, so I try to get at them right away… if I let them air dry, they get totally crazy. Even if I’m planning to air dry my hair, I ALWAYS blow dry my bangs. (They need it, trust.) I blow dry them with the nozzle pointing down, using the Goody Amp It Up Medium Round Brush, which gives hair a little volume, while also straightening and smoothing.
Step 5: Scrunch roots while drying.
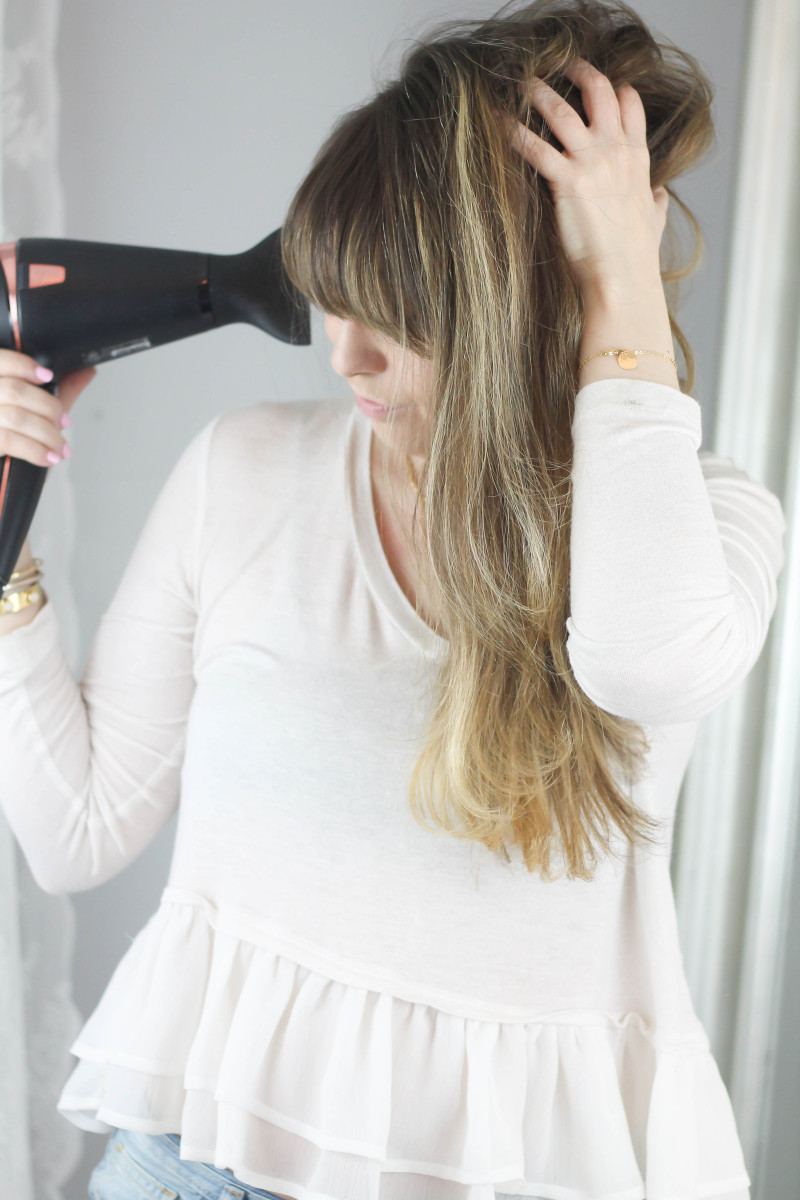
Next, I tousle my hair and scrunch my roots while blasting with blow dryer to give a little volume to the top.
Step 6: Blow dry sections of hair with round brush to smooth and add body.
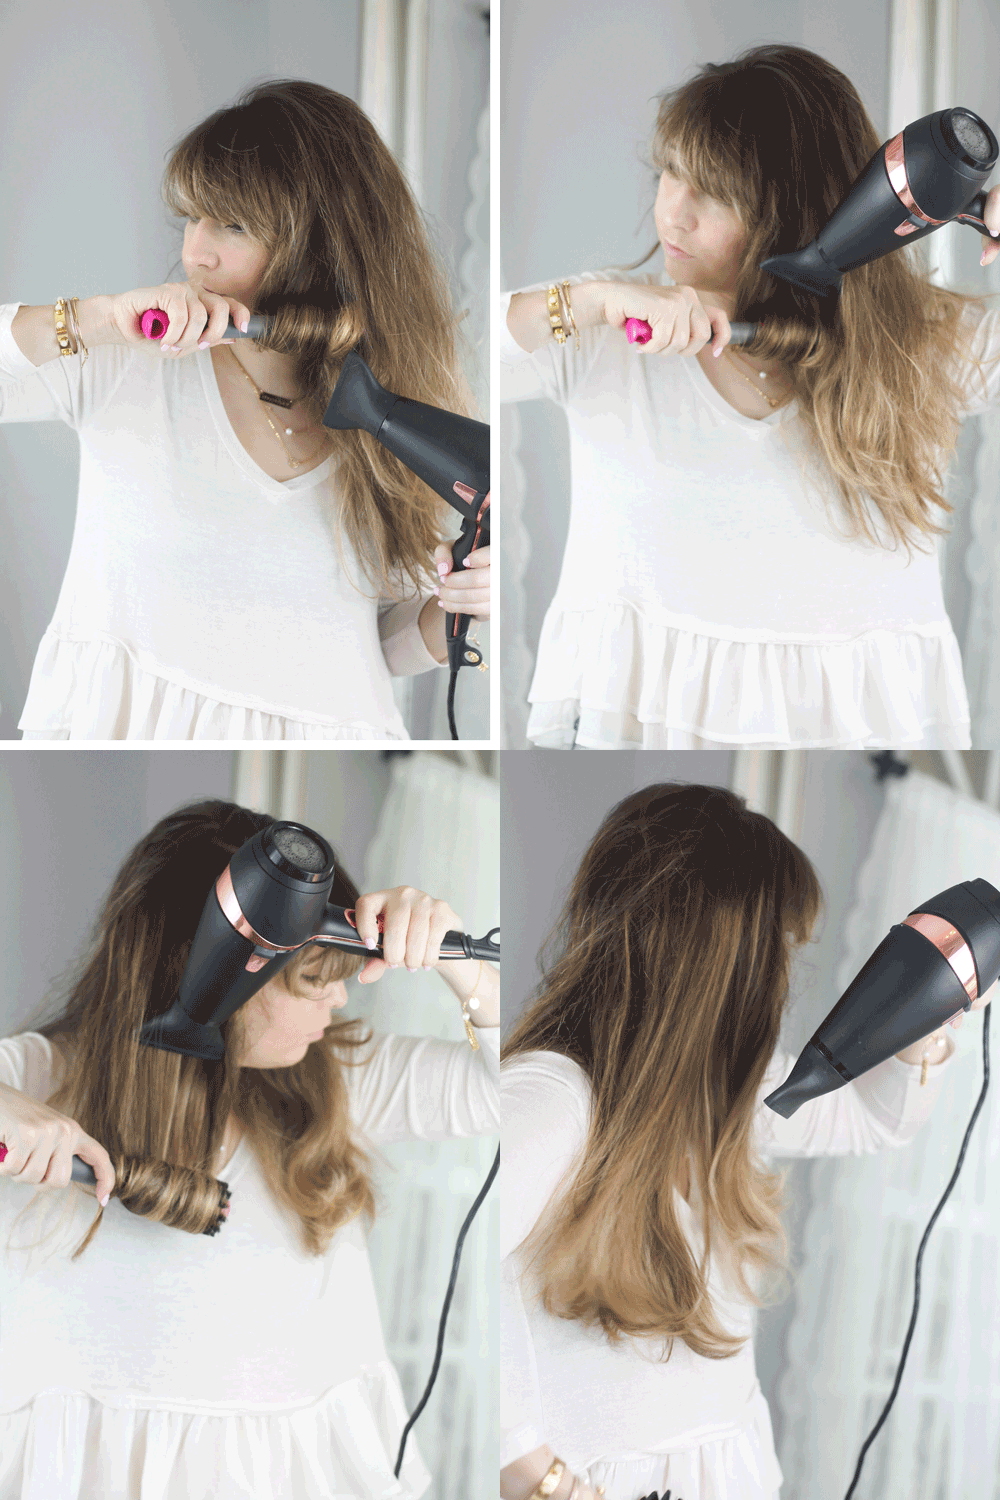
Using the Goody Amp It Up Medium Round brush again, I move on to blow drying small sections of hair. I wrap the hair around the barrel away from my face and pull down as I dry. It’s very important to make sure the blow dryer is angled DOWN so you’re smoothing the cuticle. (If you blow dry in the wrong direction, your hair won’t be smooth!)
Step 7: Section off hair to begin curling.
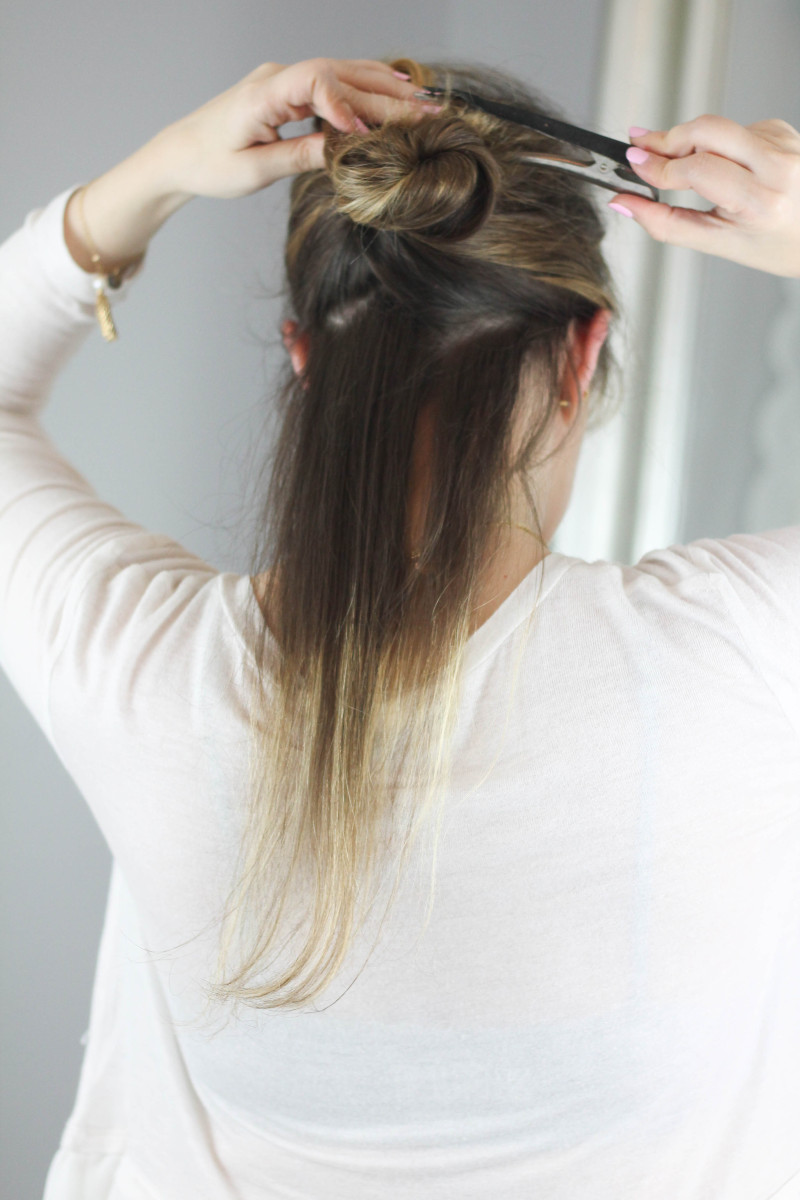
When my hair is completely dry, I twist it all up and begin sectioning off 2 inch sections to curl. Make sure that your curling iron is as hot as your hair can handle. If your temperature is too low, your curl won’t hold. (I typically curly my hair between 300-400 degrees.)
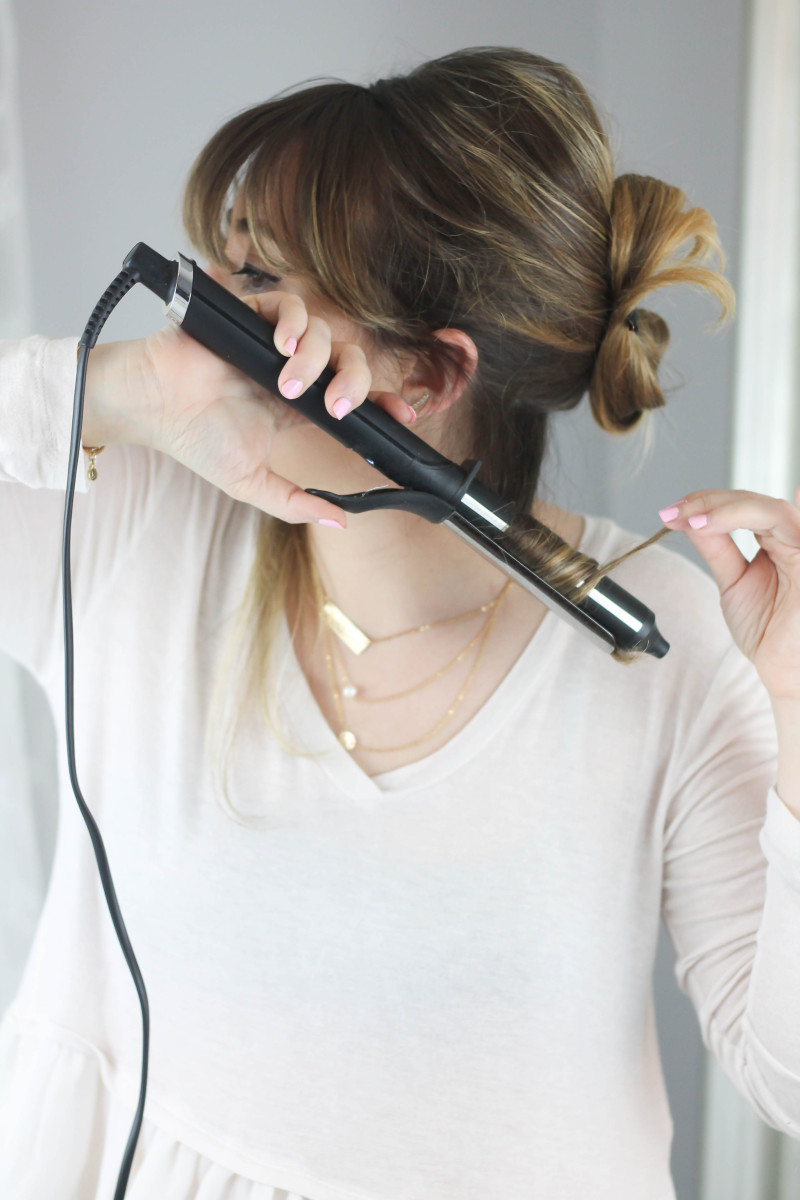
Step 8: Wrap hair around curling iron barrel away from your face.
You can either hold the iron perpendicularly or horizontally… depending on where I’m curling, I do both. I hold the curling iron at nose level and wrap my hair around the barrel, making sure to leave the ends out… you don’t want to curl them! I hold the curl in the iron for 10-15 seconds.
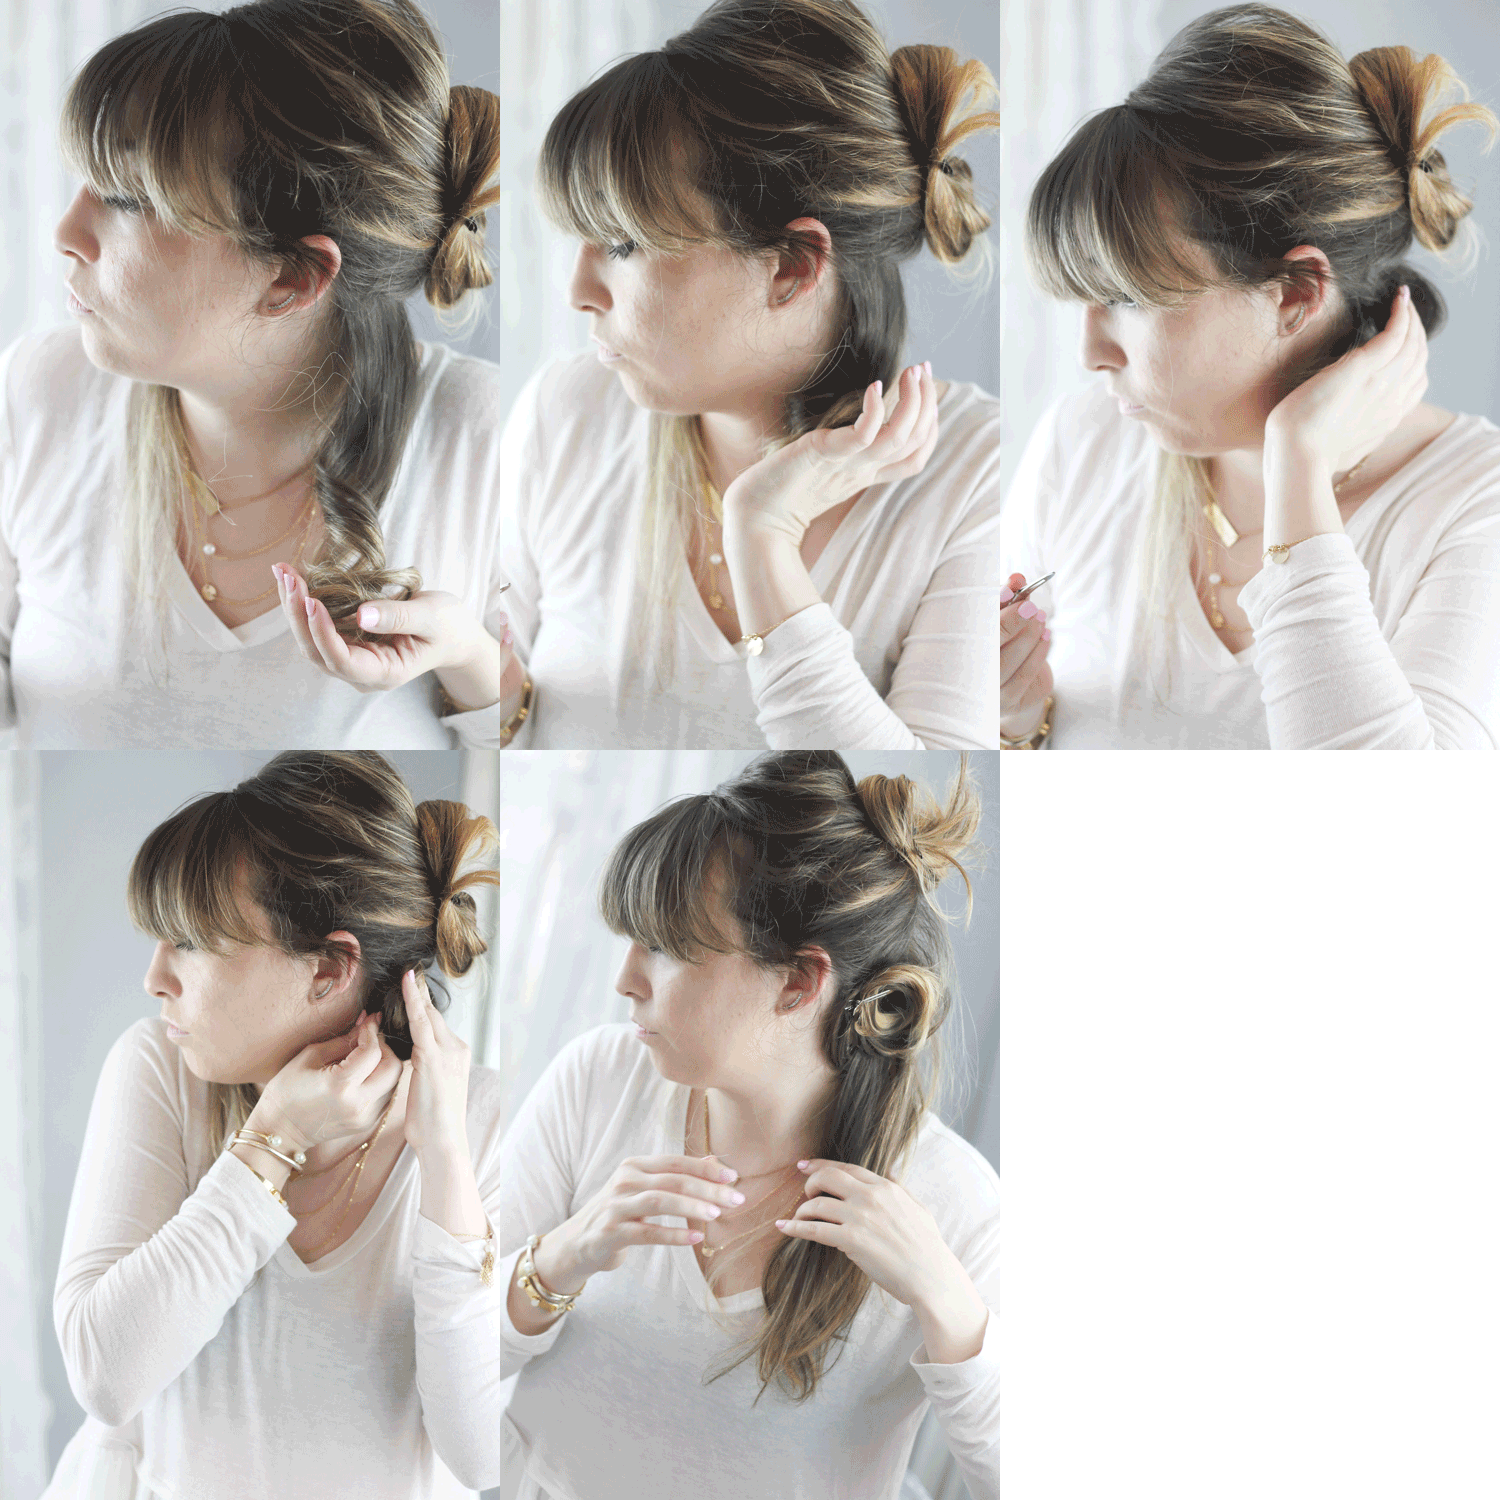
Step 9: Pin curls.
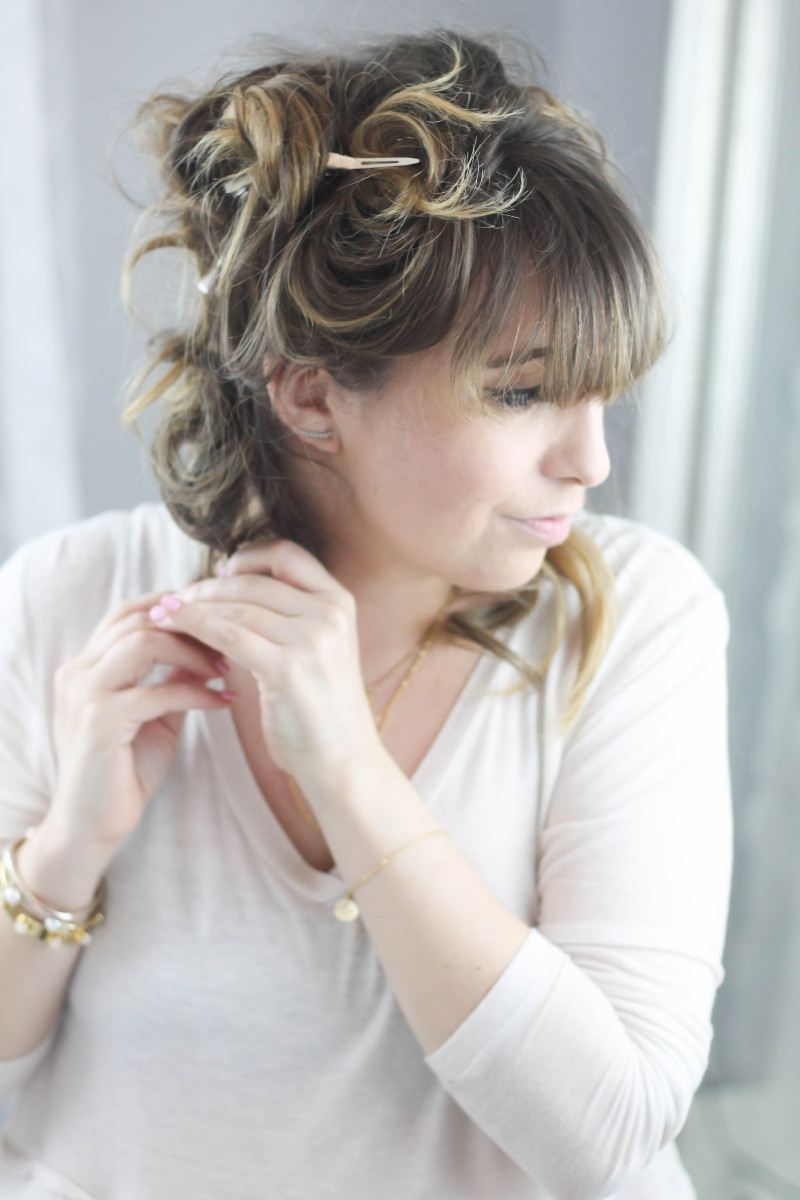
Next, I release the curl, scoop it up in my hand and pin it up using small duckbill clips. (You can buy them in a package!) This step is super important to ensuring long lasting waves! When you curl the hair and leave it loose, gravity makes the curl fall. Since I’ll be brushing out the curl later for perfect waves, I want the curl to set correctly, as tightly as possible.
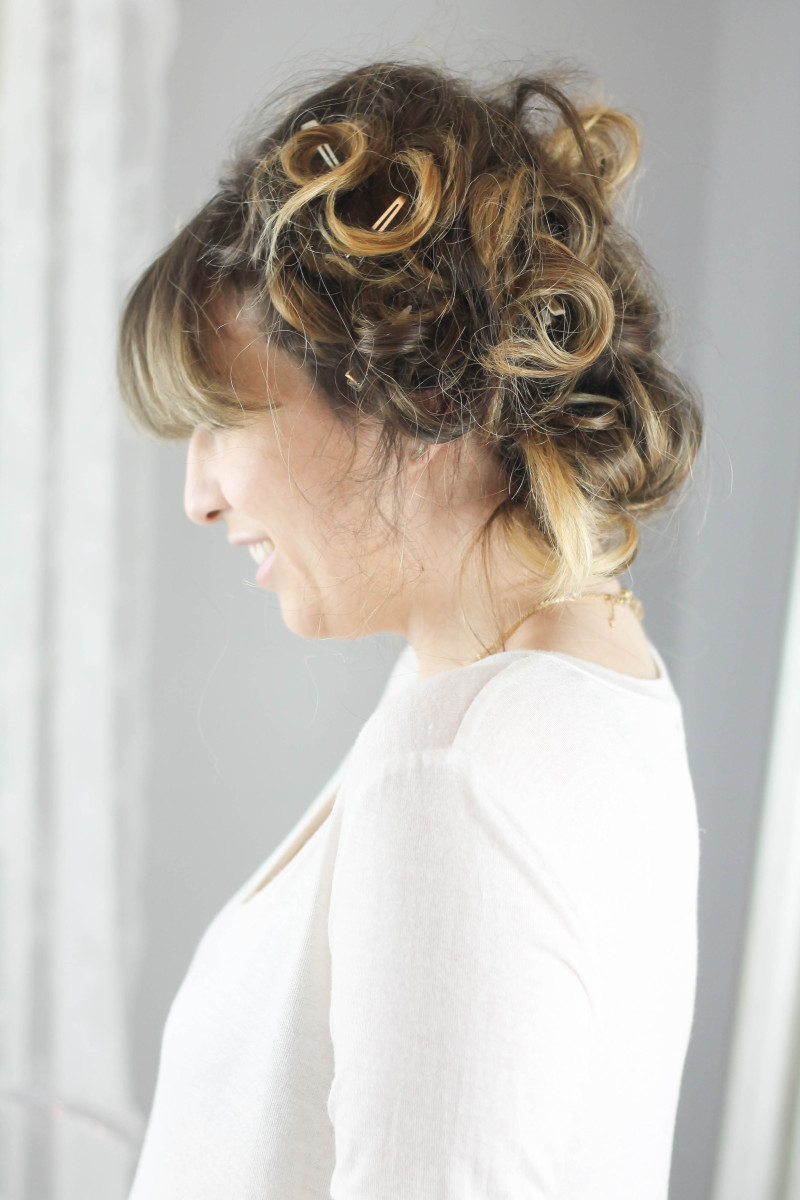
Step 10: Curl the rest of the hair and let set.
I continue curling the rest of the hair until it’s all set. Warning: you will totally look crazy, lol!
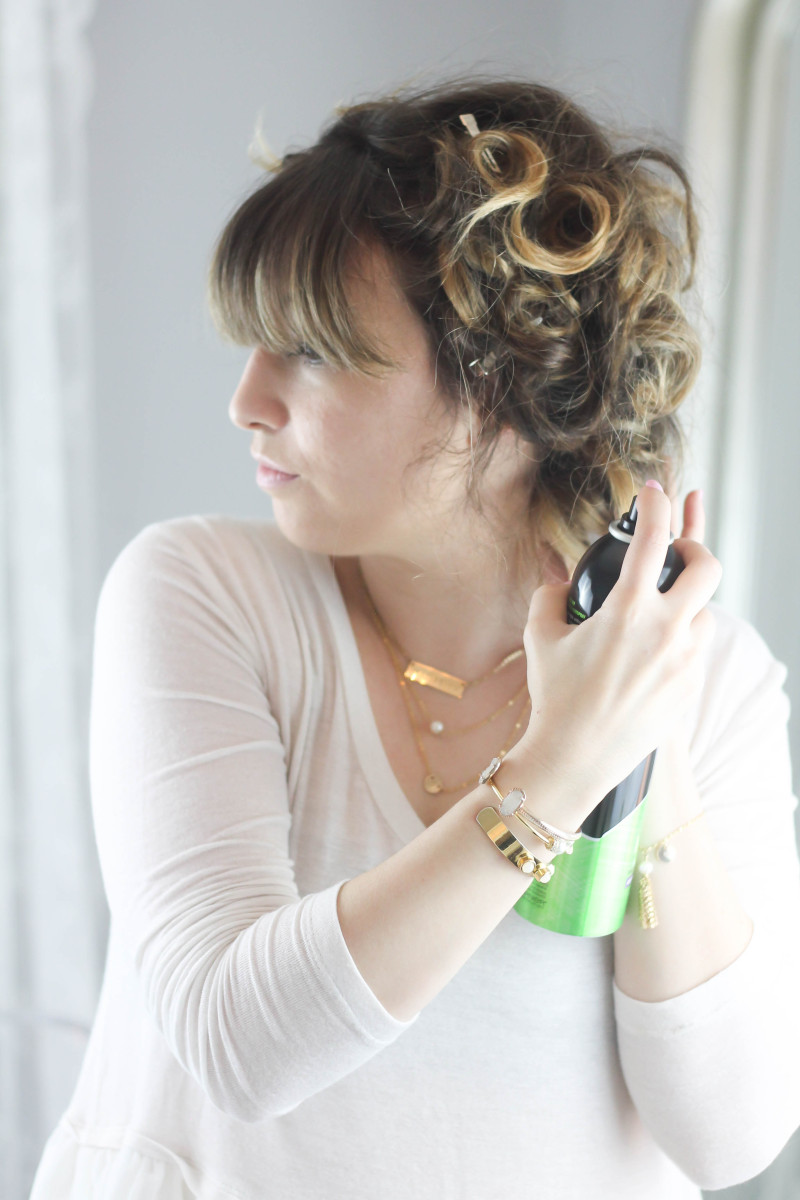
Step 11: Spray pinned curls with hairspray.
Using my favorite strong hold hairspray, I spray the pinned curls.
Step 12: Release curls.
Now that the curls are cooled and sprayed, I begin removing the clips and releasing my curls.
Step 13: Brush out curls.
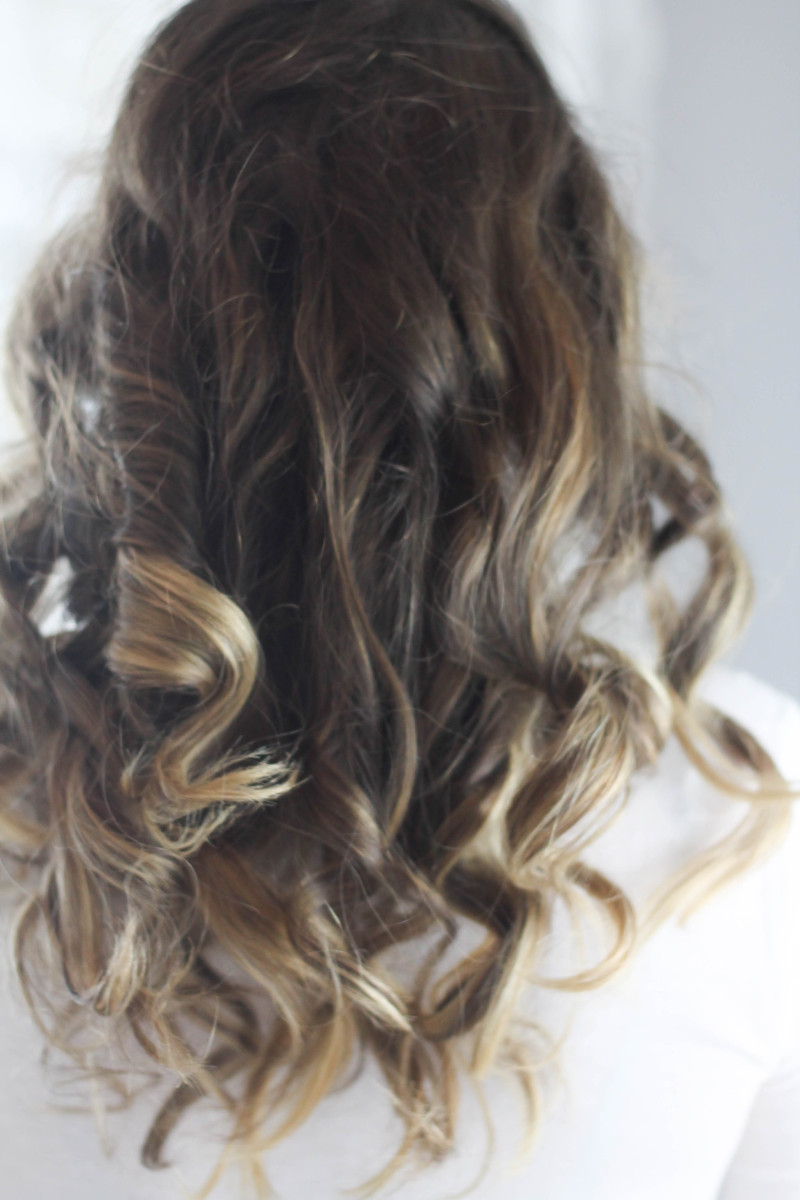
While it seems counterintuitive, what we’re going for is waves, not curls. I use the Goody Clean Radiance Oval Cushion Brush to give them a softer, undone, less defined texture. In addition to being REALLY pretty, the Clean Radiance brush has copper bristles that massage the scalp and work through the hair to restore your hair’s natural moisture balance. (I use this brush on second and third day hair to keep it looking fresh and to redistribute buildup and oils!)
Step 14: Scrunch with your fingers and you’re done!
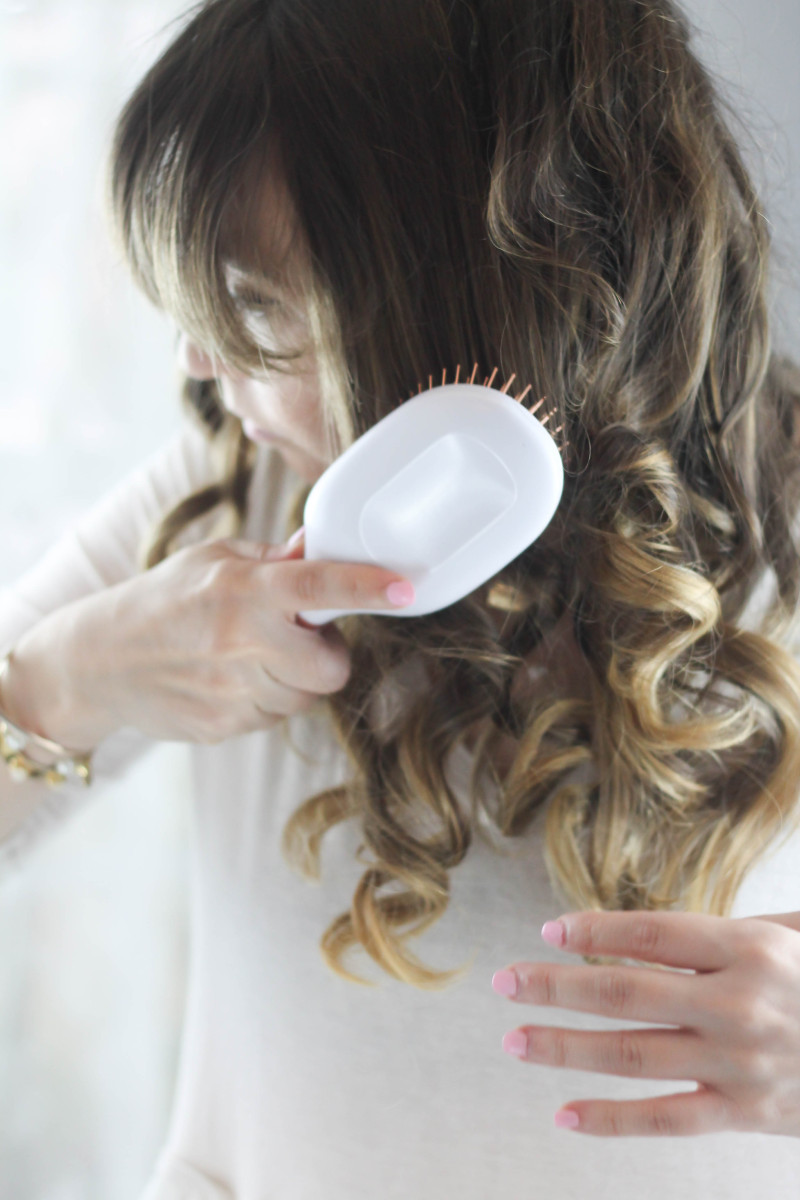
I give my hair a little scrunch and tousle the roots a bit and voila, I’m done! Perfect, soft waves.
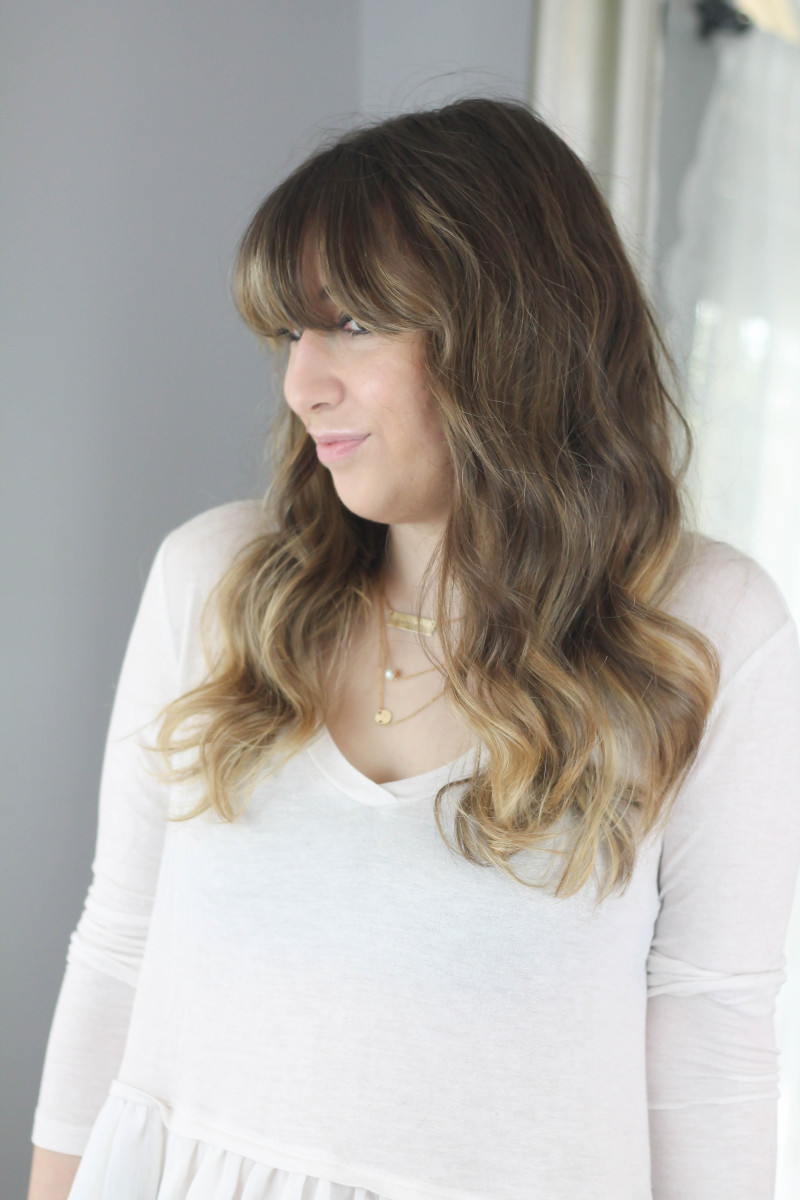
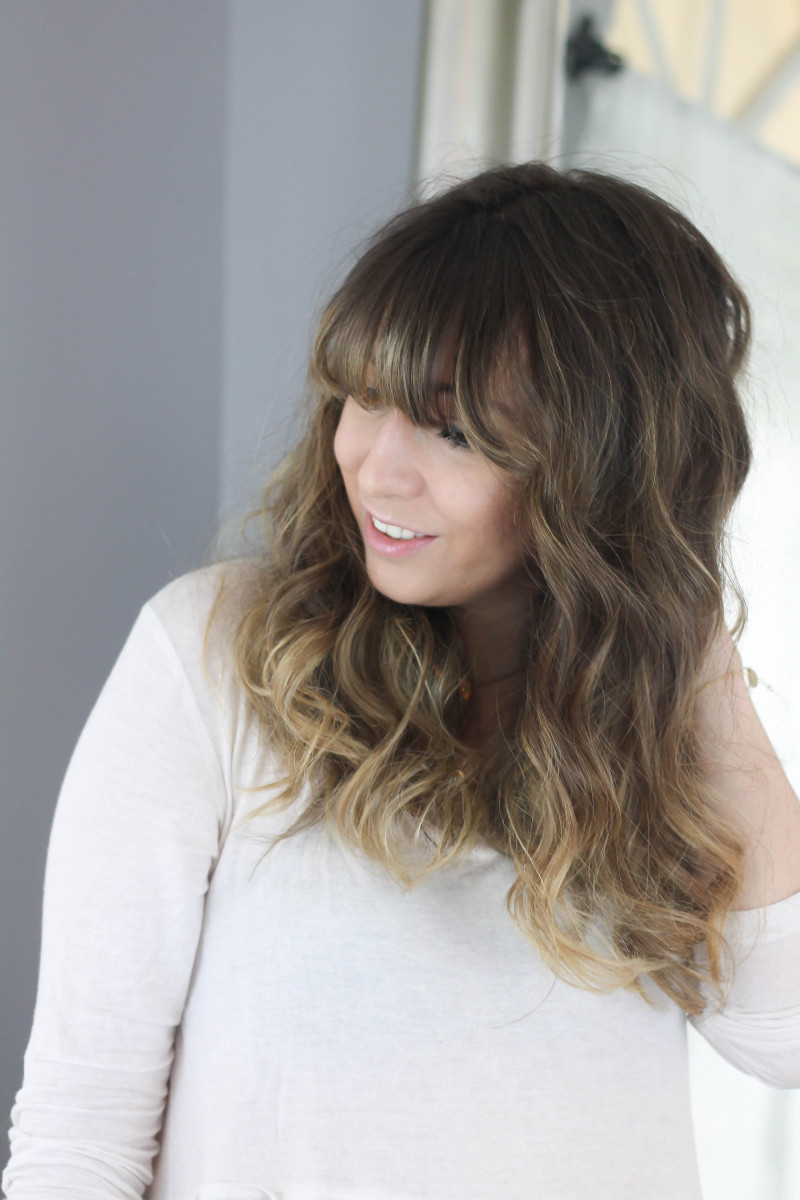
So there you have it! Soft easy waves, perfect for everyday. This is my absolute go-to look and I wear my hair like this basically every day. (Which, I’m sure you noticed!)
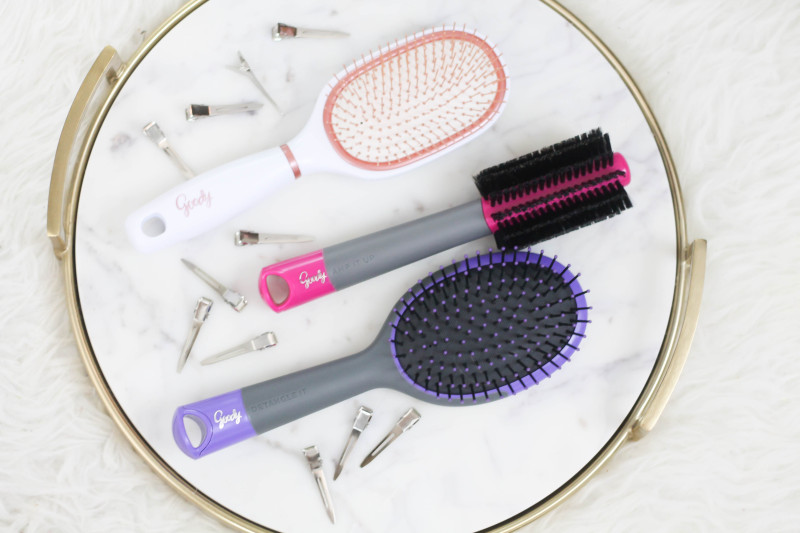
I picked up the Goody brushes I used in this tutorial at my local Walmart. Walmart has a great selection of brushes and other Goody products that are definite must-haves for achieving loads of beautiful hair looks. For more great Goody Brush hair tutorials, head here.

Thank you so much for reading and for supporting the brands who support A Sparkle Factor!
